DOWNLOAD INSTALLATION MANUAL

HOW TO INSTALL

Review the Outbraker Brake Power Booster installation process

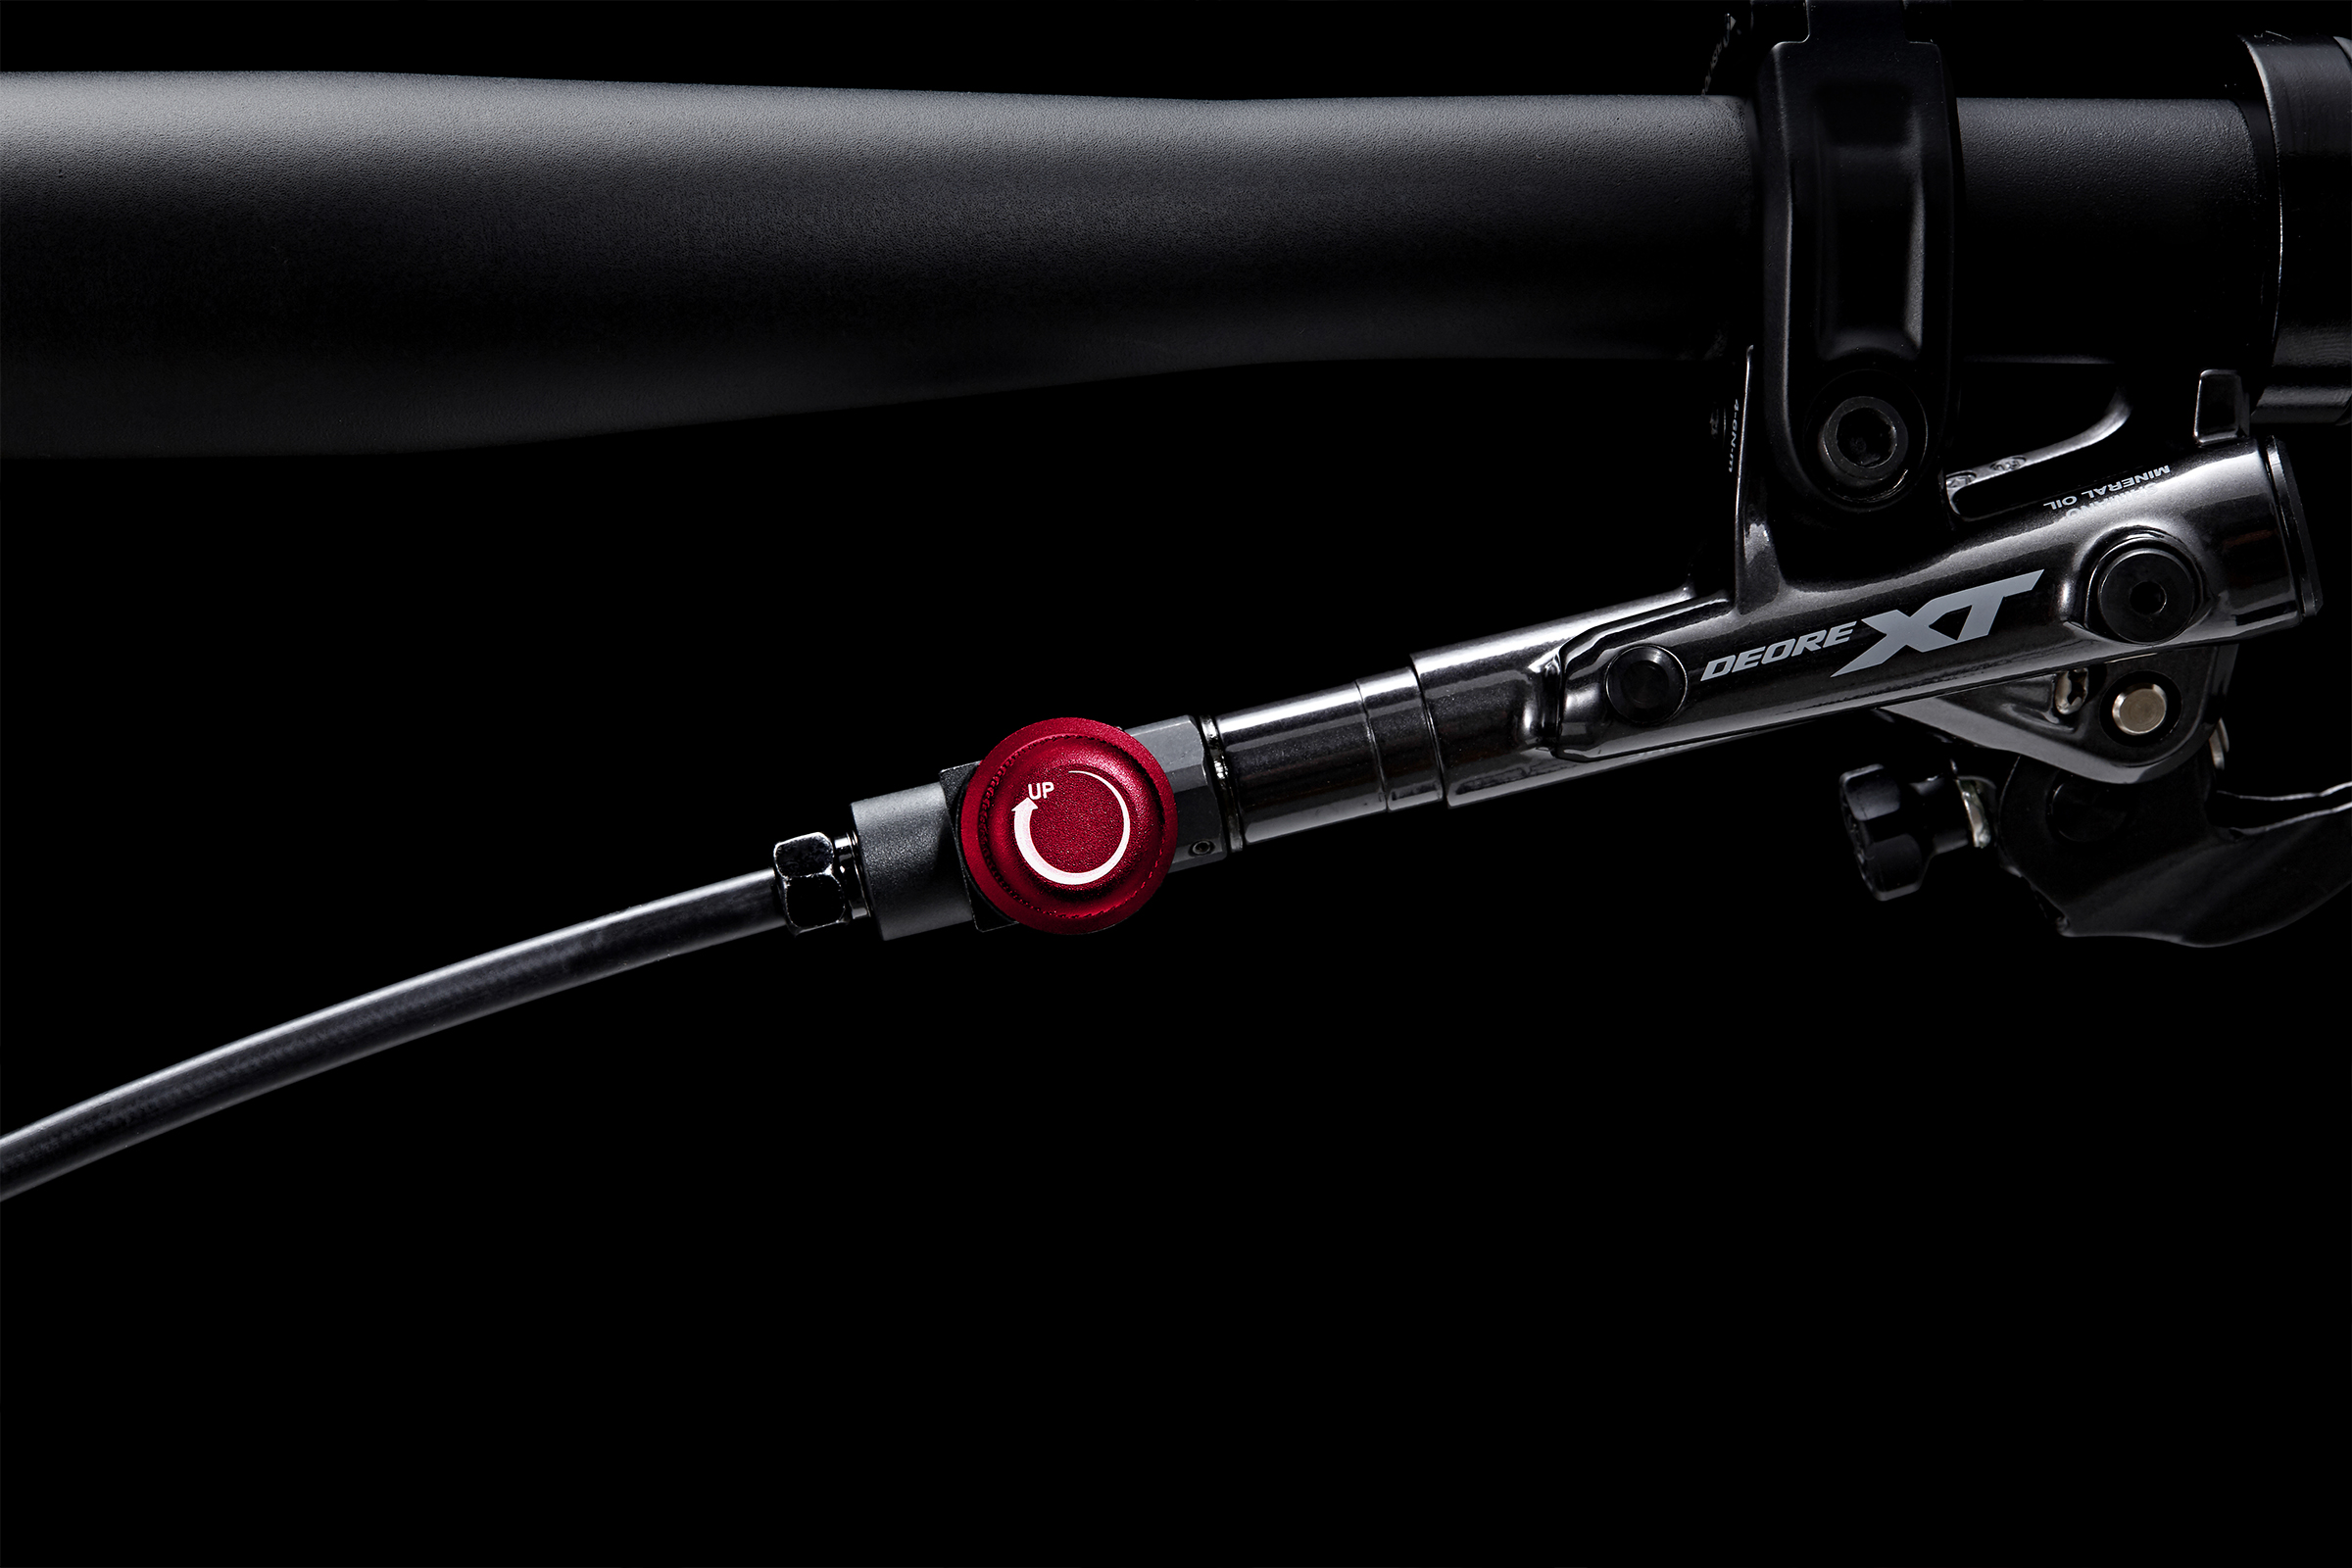
1. Remove the brake hose from the lever using an 8mm wrench.

2. Install the Outbraker Brake Power Booster on the brake lever using a 12mm wrench.

3. Tighten the connection bolt using an 8 mm wrench while holding the brake cable inside the Outbraker body.

4. Bleed your brakes and add the necessary oil (follow the instruction manual of the hydraulic brake brand that you are using).

5. Set the desired position of the Outbraker using the 0.9 mm hex key included in the package.

SETTING

How the Outbraker Brake Power Booster works

The Outbraker Brake Power Booster comes graduated to the minimum position of the dial (0º, that is, the oil tank open to the maximum). This means that there is the same oil capacity in the hydraulic circuit as before and therefore braking is not affected.

To give more braking power and therefore more pressure to the hydraulic circuit, we must turn the dial clockwise. The system allows up to 4 turns of 360º. The best way to find the adjustment that suits you is to do it gradually.

We recommend first installing it with the dial turned to the minimum (counter-clockwise). Once installed, you can gradually increase the power. Between the initial setting point of 0º and the maximum of 1440º (360º x 4 turns) there is an infinite scale of positions in which one has to feel comfortable.

Warning: We do not recommend turning the dial to the maximum as it is too much power and could burst the internal circuit of the brake lever.

DOWNLOAD INSTALLATION MANUAL